To start an acrylic oil, you need two effects.
- Seven introductory acrylic oil ( see below), and
- Ideas for what to paint
Of course, there are ways to make your idea into a piece of art. We'll bandy those farther on, including
- Stylish lighting
- Deciding the subject and focal point
- Planning your oil's layout
- Dyeing your oil
- Drawing your idea first
- Painting the middle values first
- Adding details and highlights
Let's get started!
7 Things You Will Need for Acrylic Painting
Do you want to learn how to paint with paintings? This is list of the seven things you will need to get started and further details on each one.
- Acrylic paint
- A variety of brushes
- Painting support (canvas or gesso boards)
- Palette
- Water
- Cloth rags or paper towels
- Easel
1. Acrylic Paint
Get the stylish quality paint you can go. Aim for artist quality, not pupil quality. The pupil quality tinges have further paddings and respond less efficiently to color and media mixing.
You don't need numerous colors; a limited palette of introductory colors is excellent for starters. To begin with a minimal palette, you can buy single tubes and make your primary color combination. Or like a whisper-made set of heavy body makeup. The Liquitex 4- Color Mixing set has a good choice of tubes Quinacridone Crimson, Yellow Medium Azo, Phthalo Blue (Green Shade), and Titanium White.
Tip: A" black" can always be attained by mixing the three primary colors.
A Note of Caution About Phthalo
When you use a phthalo blue or green, be apprehensive that they're solid colors. A small quantum goes a long way.
Learn to check the colors listed on the tubes. You will see that several colors have phthalo outside, like Windsor blue and other blues. That makes them strong enough in color mixes. At first, phthalo blue meddled me up. But that was my fault because I didn't know how to handle it.
When used in small amounts, it's an awful color, and it's astonishingly flexible and beneficial in numerous color mixes. Still, much enough noway use it pure, right out of the tube. Only mix it with some orange to dull it as demanded.
2. Variety of Brushes in Different Shapes and Sizes
A rule of thumb for skirmishes is to use significant fights for extensive areas and loose oil styles and minor skirmishes for small spaces and details. That is why it's essential to have a variety of sizes.
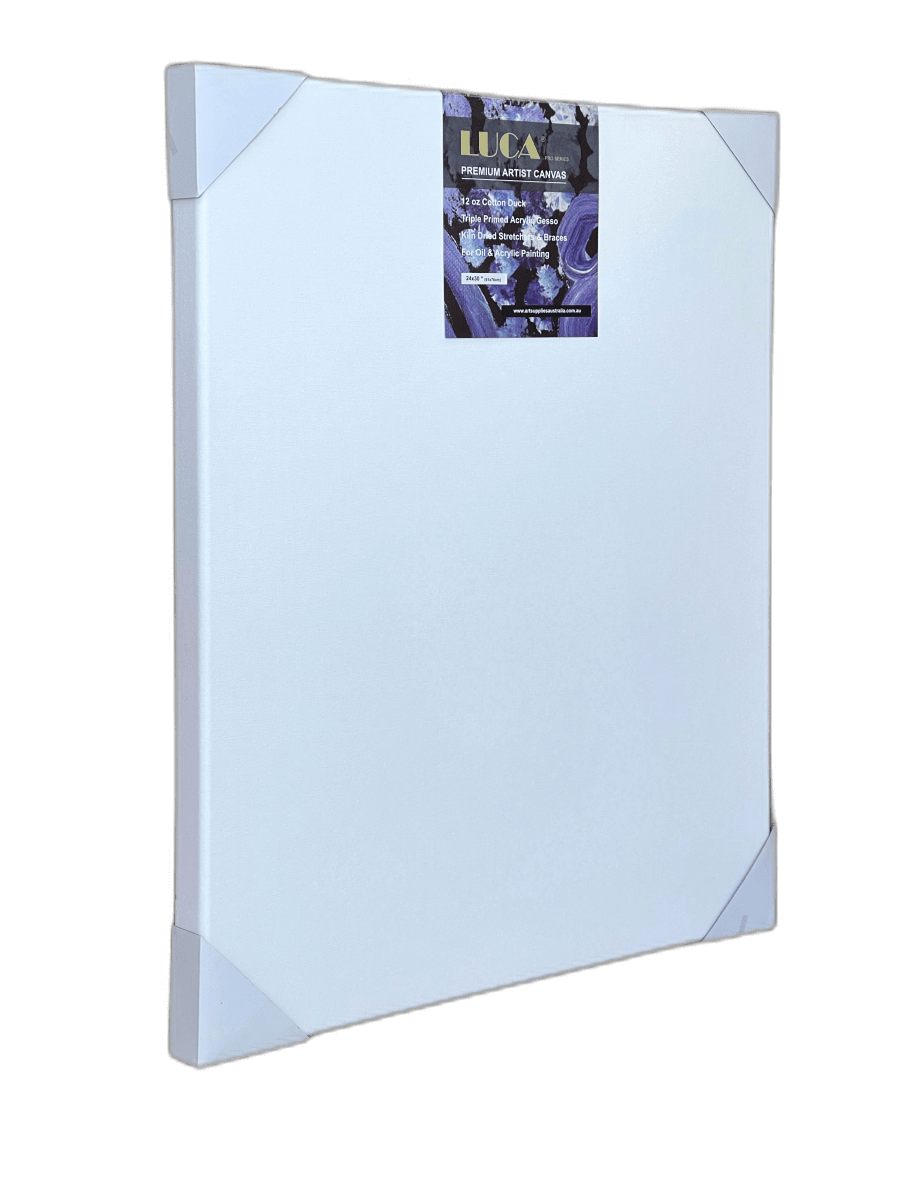
3. Painting Support
Acrylic paint works on numerous shells, including oil, paper, or board. However, make sure it's primed with acrylic gesso If you buy pre-primed oil. An oil primer for canvas oil isn't suitable. Paintings don't stick on unctuous shells and would peel off with time.
4. Palette
Your palette is the face on which you mix your makeup. You can use any flat, charger-suchlike object made of plastic or other water- evidence material.
5. Water
Get a giant bottle of water to wash the skirmishes when you switch from one color to another. More yet, you should have two holders of water, one to pass fights after oil and one with clean water to degrade the makeup and moisten skirmishes when demanded.
6. Cloth Rag or Paper Towel
These come in veritably handy to dab skirmishes after irrigating, correct miscalculations, and keep your hands clean.
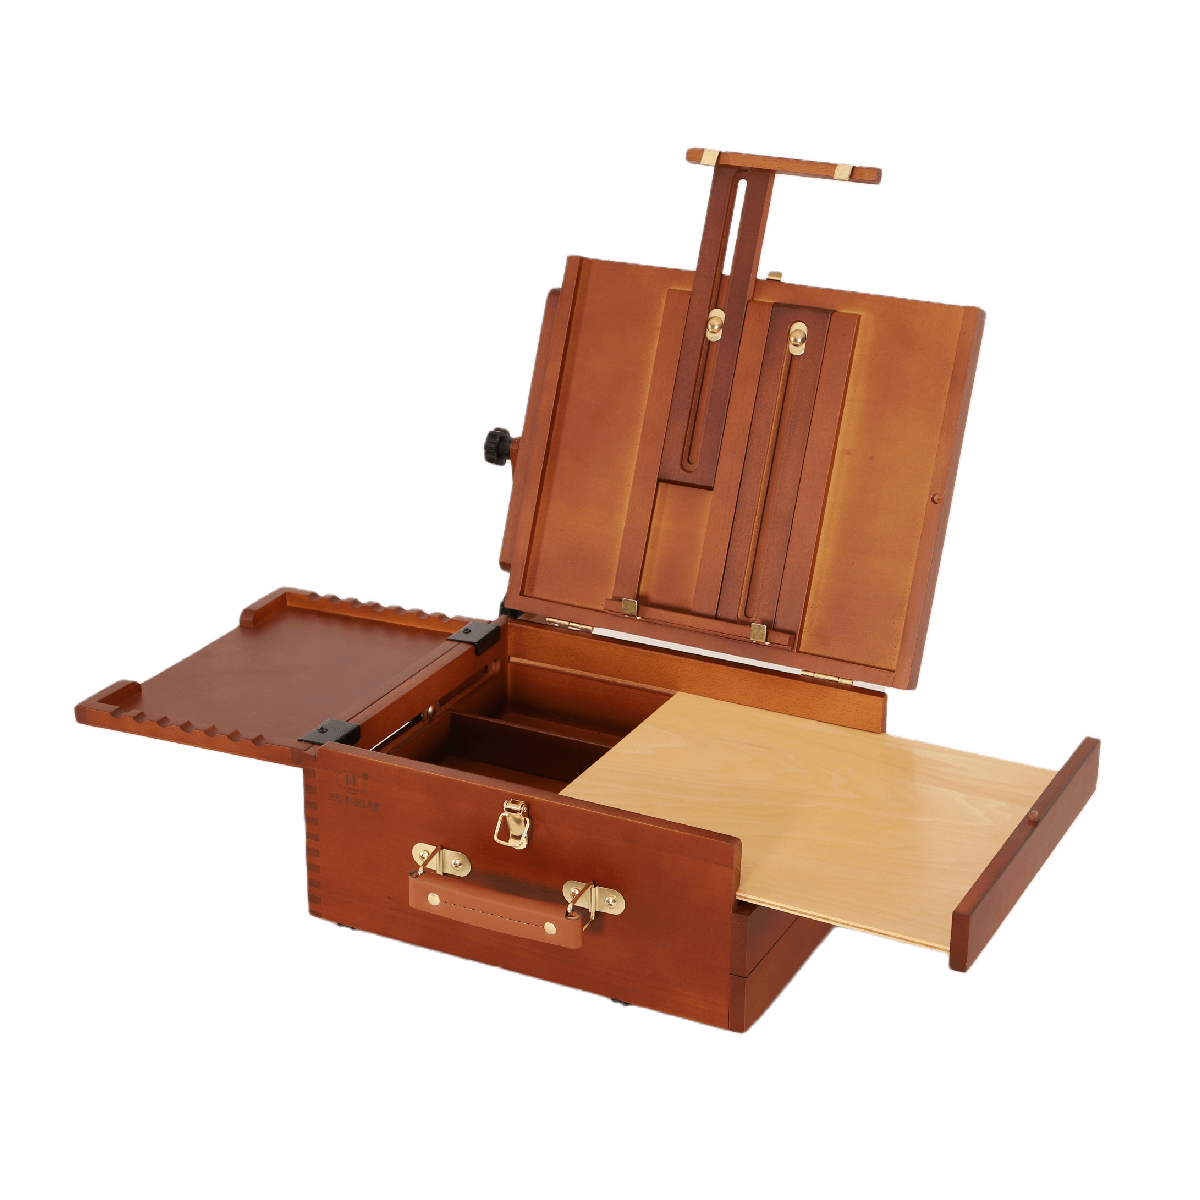
7. Easel
It's salutary to keep your oil support at an angle directly opposite you as you work. This helps a lot with perspective and proportions. To keep your oil or board inclined, you can use a stage-up easel or a tabletop one. Easels come at different shapes and prices. You can get a tabletop easel for lower than$ 10.
Pay Attention to the Quality of Accouterments!
The quality of the accouterments you use is pivotal, especially the makeup. There are pupil quality canvasses, skirmishes, and maquillages and professional bones available as well. Student quality has a lower chance of color in the acrylic binder and paddings. It's hard to see the difference until you start painting with it. The makeup behaves in a less effective and more gruelling way. When in mistrustfulness, conclude for professional quality. Otherwise, you may waste time and energy gaining the results you want.
What Should a Beginner Paint?
Indeed the stylish painters do not inescapably choose complicated subjects to paint. One of the most gruelling effects to paint for newcomers is presumably a person's portrayal. You do not have to start with a considerable challenge.
Suppose about all of the beautiful oils you've seen (or seen filmland of) that are of important, more straightforward subjects.
- A vase of flowers
- A simple landscape
- A scene at the beach
- A still life of simple objects
- A bowl of fruit, or one fruit
- A plant
- The interior of a room
These subjects will offer plenty of challenges for a beginning painter while allowing you to keep your painting simple.
Deciding Your Oil's Focus
What do you want to paint? What are you trying to represent? Perhaps it's geography, but what's it about that geography that inspired you to paint it? Is it light? Is it calm? Its vibrance? Before you get started, decide what you're trying to represent in your oil and, on a piece of paper, plan the composition of your oil, keeping your focus in mind. It might take several small composition sketches before you find one that "sings" to you.
Still, there's no reason to be 100 faithful to the print layout and colors, If you work from a snap. You can alter sizes, positions, and colors of effects to suit your cultural thing. You can edit some trees out, add others, and move a home or a ground to make your composition more balanced.
If you use a snap, use it for reference only, do not copy it. Sketch the rudiments and shapes you like and put the print down. Also, feel free to rearrange the numbers and produce your composition for your oil.
Plan Your Layout: It Will Save You
The temptation to start painting right down is enormous, but if you jump right into the delineation and oil on your oil, you may find yourself wedged with a weak oil that needs enhancement, and you do not know how to" save" it. This is a sign of poor composition and value structure in numerous cases. Before you jump into your oil, make some preliminary sketches to reference. The rule of thirds can help you decide how to plan the layout of your oil and where to place your focal point. You can paint different colors from what you see to stick with a specific color scheme. Some planning using value sketches can make a huge difference.
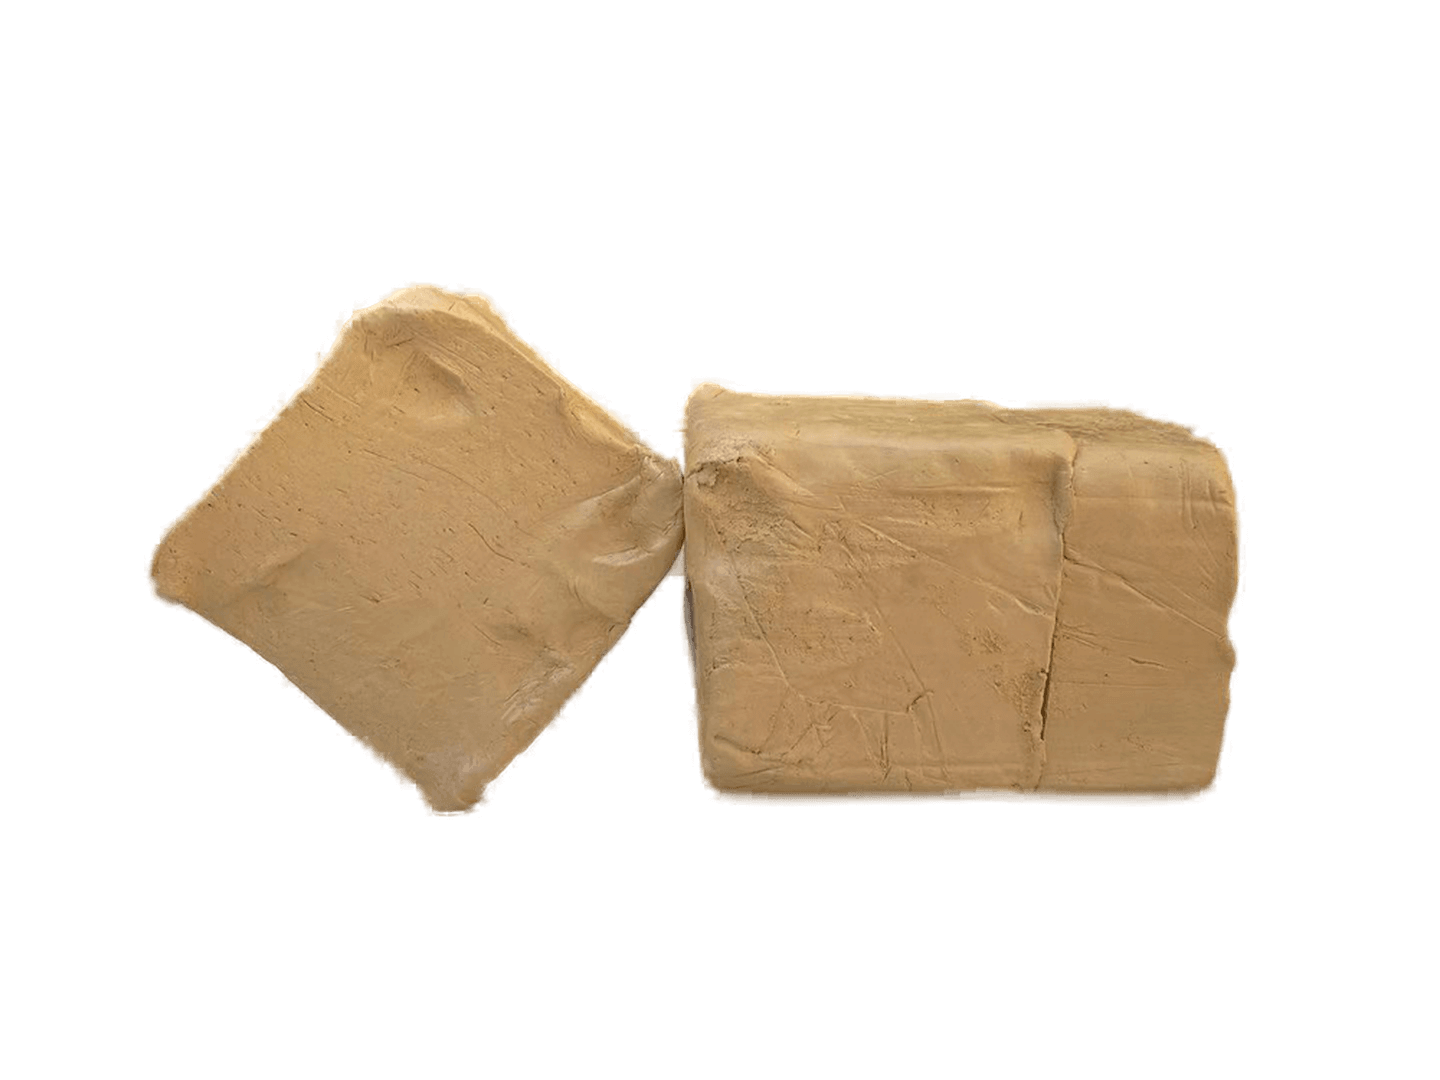
Start Drawing on a Tinted Canvas
The problem is that the makeup smudges your delineation and makes details hard to see. So shade the oil first and also draw my layout. It's much easier this way. You can pick any ground color that complements your composition. I generally paint a diluted base of unheroic ochre on the whole oil when in mistrustfulness. It provides the painting with a vibrant undertone, and it helps me avoid the feeling of the artist's block in front of white oil.
Tips for Painting With Water-Based Paints
- Acrylic paint is water-grounded so that you can thin it with water. There's no need to use chemical makeup thinner. You can also clean your skirmishes with water.
- Indeed though acrylic maquillages are water-answerable, they dry snappily and are water-resistant when they are dry.
- You can not mix acrylic and canvas maquillages ( canvas and water do not mix!).
- You can use paintings with a watercolor technique, but you can not extinguish the makeup once it's dry, unlike gouache maquillages.
Paint the Middle Values First
When you're happy with your composition, fill the rough shape of the focal point of your oil with the median value for that object. Also, move to another object or shape conterminous to your focal point and paint its rough shape with the middle value. Keep working around the whole composition, blocking all shapes and objects. Don't bother about murk and highlights at this stage.
Adding Details to Your Oil
Once you have blocked off all the shapes in your composition, step back and take a look. Does it make sense? Did you choose good colors for each object?
Also, go back and make any demanded changes to the colors. Then, when you're happy with the colors, it's time to start filling in further details, lower shapes and different values. Then, starting with the lighter weights, move to the darker bones. Paint the murk. Murk should be of a more fantastic color than the rest of the object.
Note: Murk is noway black.
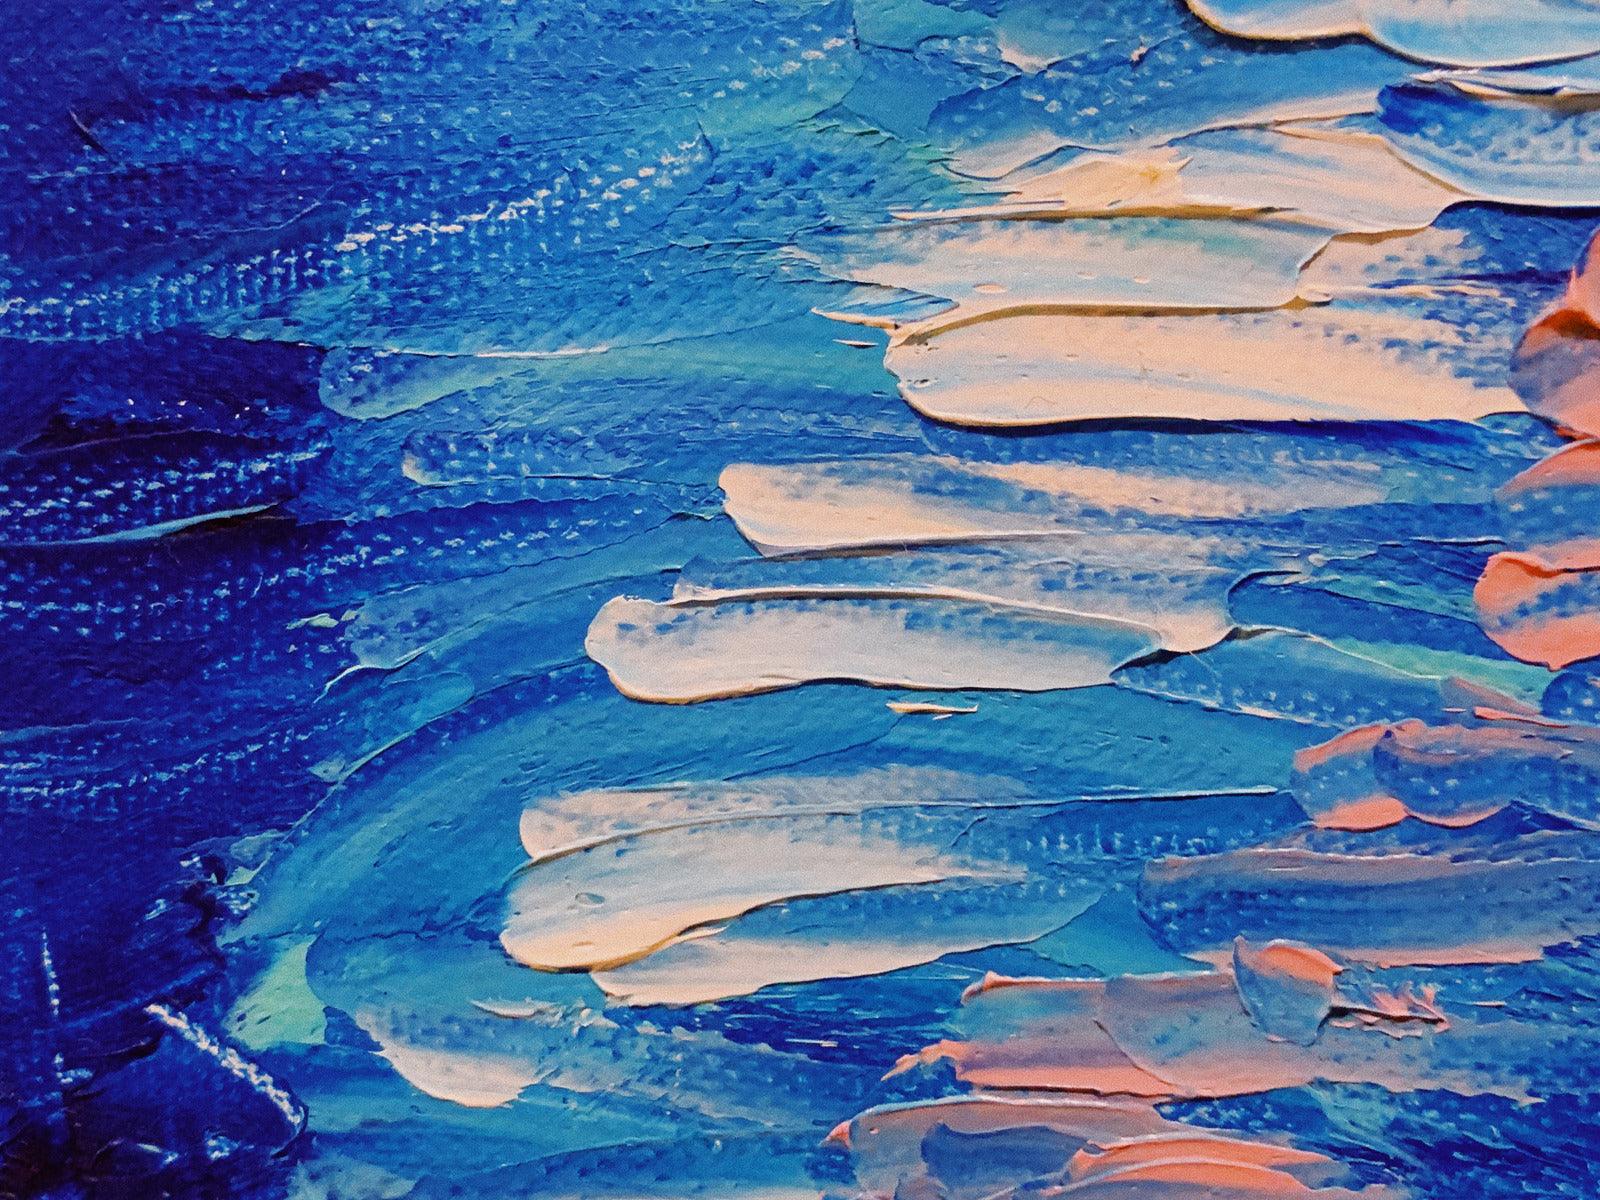
Paint the Highlights Last
The last thing you need to do is to add the highlights. Highlights don't have to be white; they can be a veritably light value of the primary color of the object.
Step back frequently and look at your oil from a distance. This will help you see your oil's direction and estimate the values and areas that need tweaking or enhancement.
When working on art canvas, it's important to consider the use of highlights to add dimension and depth to the painting. These highlights can be achieved using a light value of the primary color of the object, rather than just white. Whether working on stretched canvas or canvas boards, it's essential to step back and observe the artwork from a distance to get a better perspective on its overall direction and areas that may need adjustment. While oil paint is a popular medium for creating art, acrylic paint is also a great option due to its versatility and quick drying time.