Welcome to the watercolour art world, where vibrant pigments and fluid brushstrokes create captivating masterpieces. If you want to elevate your watercolour game, paper sizing is one fundamental aspect you should pay attention to.
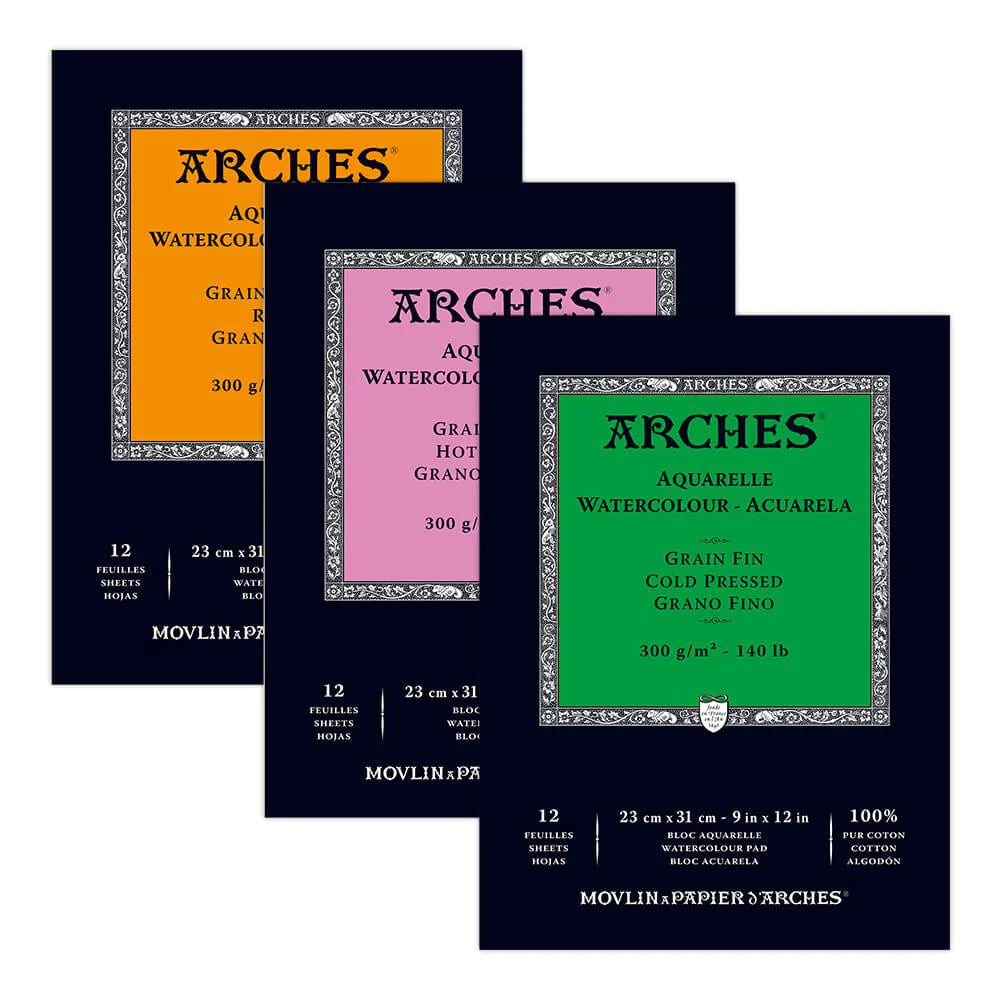
This blog post explores the importance of sizing in watercolour painting and provides practical tips for adequate paper sizing. Before diving in, check out Art Supplies Australia's wide selection of watercolour paper pads.
Understanding Sizing in Watercolor
Let's start with the basics to grasp the significance of paper sizing. Sizing refers to applying a protective substance to the surface of watercolour paper. This substance, typically a gelatin-based solution or synthetic sizing agent, helps control the absorption of water and pigment, allowing for better colour control, reduced buckling, and enhanced lifting capabilities.
By properly sizing your watercolour paper, you create an optimal painting surface that enables you to work more precisely, maintain the vibrancy of your colours, and achieve desired effects. Proper sizing may make your paper more absorbent, leading to unpredictable results and frustration.
Exploring Different Sizing Techniques

Now that we understand the importance of sizing let's delve into the different techniques you can use to size your watercolor paper. Here are two primary approaches:
1. Traditional Sizing Methods
Gelatin Sizing: This classic method involves preparing and applying a gelatin solution to the paper surface. It provides excellent sizing results and has been favoured by artists for centuries.
Animal Hide Glue: Another traditional option, animal hide glue, offers a similar effect to gelatin sizing. However, it requires more preparation and can be trickier to work with.
2. Modern Sizing Alternatives
Synthetic Sizing Agents: In recent years, synthetic sizing agents have gained popularity due to their ease of use and convenience. These ready-to-use solutions are available in liquid or spray form and offer reliable sizing results.
Step-by-Step Guide: Adding Sizing to Watercolor Paper

Now, let's walk through the process of adding sizing to your watercolour paper, ensuring a smooth and successful outcome:
1. Prepare the Watercolor Paper
- Soak the paper in water for a few minutes.
- Gently remove excess water and lay the paper flat on a clean surface.
2. Apply the Sizing Agent
- Follow the instructions provided by your chosen sizing agent.
- Use a brush or spray to evenly apply the sizing solution to the paper's surface.
- Be mindful of the recommended drying time for the specific sizing agent.
3. Dry and Test the Sizing
- Allow the paper to air dry, or use a hair dryer on low heat to expedite the process.
- Once dry, test the effectiveness of the sizing by lightly wetting a corner of the paper and observing how the water behaves. Ideally, it should remain on the surface without excessive absorption.
Troubleshooting and Tips for Successful Sizing
While sizing your watercolour paper, you may encounter a few challenges. Here are some troubleshooting tips to help you along the way:
- If your paper becomes overly saturated, gently blot the excess water with a clean towel.
- If you experience inconsistent sizing results, ensure that you apply the sizing agent evenly across the entire surface of the paper.
- Experiment with different sizing techniques and agents to find the one best suits your preferences and painting style.
Unleash Your Creativity with Properly Sized Watercolor Paper
Congratulations! You've gained valuable insights into paper sizing for watercolour art. By understanding the significance of sizing and following our step-by-step guide, you're on your way to enhancing your artistic endeavours.
Remember, quality watercolour paper is the foundation of your artwork. For a diverse range of watercolour paper pads, visit Art Supplies Australia. Embrace the power of adequate paper sizing, and let your creativity flow!

