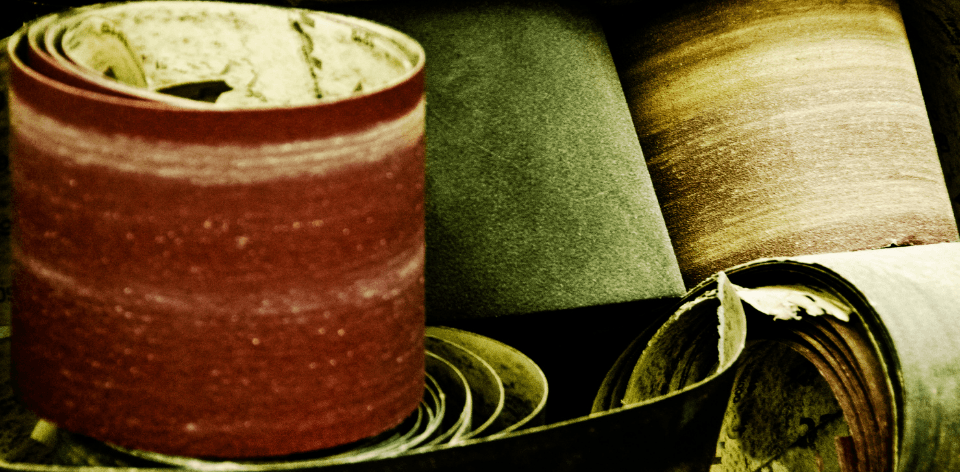
If you're looking for a new drawing surface, sanded pastel paper is a great option. It allows you to add details later and the finer grits will absorb additional color even after several layers. You can use any colored pencils, including watercolors and oil pastels. In addition, it's easy to switch between light and dark work. You can even add highlights to your drawing!
Sanded Paper -
Sanded pastel paper is a wonderful choice for a variety of applications. It's receptive to pigment, and the surface is smooth and soft. It's a great choice for artists working with oil and light pastels. It's also very durable and acid-free, and you can tint it before you begin working with it. Once you've used a solvent, it will dry very quickly. Once you've completed your painting, you can blend with a drafting brush, sponge, finger cot, or other tool.
Why use sanded paper?
Sanded pastel paper is an excellent choice for many reasons. It allows you to use any type of colored pencil or oil-based watercolor paper, making it a perfect canvas for your work. You'll also be able to use a drafting brush to sweep up the dust, which is especially useful if you're working with oil-based pastels. Similarly, a drafting brush will be an excellent option if you don't have a drafting brush.
When is it best to use?
The sanded paper is best suited for those who like to draw on a slow-moving medium. Because pastels require a lot of tooth, sanded paper is the ideal choice for artists. The sanded paper is a great alternative to traditional drafting paper because it has more tooth and is more forgiving to the hands of the artist. Once you've finished your drawing, it will be a lot easier to erase it.
Step One: Select a paper suitable to use with colored pencil
The first step to making sanded pastel paper is to select a suitable paper for use with colored pencils. You should choose a paper with lots of tooth, as pastels require a lot of tooth. You can find many different types of sanded pastel papers at art stores, but the most common is Mi-Teintes, Uart, and Fisher 400. If you're using water-based pastels, you'll want to purchase a sanded surface that's resistant to alcohol and water.
Step Two: Apply Primer
Once you've chosen a paper, apply primer. The pastel primer allows for sanded pastel paper. It's a great choice for sanded watercolour paper, but will work well on any surface. Using a drafting brush is an excellent way to sweep up the powdery residue. When you're finished, turn the drawing over onto a waste bin, and sweep the dust into the trash.
Step Three: Use a drafting brush for sweeping up the dust
A drafting brush is an excellent choice for sweeping up dust. You can also use an old drafting brush to clean the sanded paper. However, it's important to remember that storing sanded pastel paper is a more difficult process than working on traditional paper. You should always use a drafting brush to sweep up dust. If you don't have one, you should buy a drafting brush instead.
Step Four: Choose a suitable surface for abrasive material
Depending on the medium you're using, you'll need to choose a suitable surface. Sanded pastel paper will have more teeth than traditional pastel paper, so you'll want to choose a surface that is sturdy enough to take the abrasive material. This sanded paper is a great alternative to traditional papers for the art market. There's a huge variety of sanded pastel papers for artists and hobbyists, so you'll be able to find one that meets your needs.
Using a stiff-bristle brush can be a great option when using sanded pastel paper. It works well with solvents and allows the pigment to flow more freely. It's important to make sure that the paper is a pH-neutral paper, or else it will be prone to stains and discoloration. It's also important to sanded pastel paper to protect the original color of the drawing, if you want to use it in a museum.

