It is often forgotten that there are several points to consider when preparing your artwork for printing. These include ensuring the image is of high enough resolution and cropped correctly, saving the document with the correct colour profile and original size, and testing it on the printer you're using. Before sending your file off, the final point is to add any additional specifications, such as bleed or trim lines that may need to be included, and don’t forget to add all necessary art supplies you might need.
To ensure a quality print, these steps must be followed- otherwise, you may end up with a low-quality image from your local photo studio or, worse yet, a failed project!

Why Do You Need to Prepare Them?
Images that are not prepared correctly for printing can often result in a poor-quality print. An improperly prepared image may be saved at the wrong resolution, have the incorrect colour profile, or be in the wrong format. When preparing your artwork for printing, it is essential to ensure that these elements are correct to produce the best possible print.
Failure to properly prepare your artwork can also lead to a failed project. In some cases, an incorrectly prepared image may not be printed at all, resulting in wasted time and effort. In other cases, the picture may be published but with poor quality. This can often lead to a disappointing finished product for you and your client.
The Importance of Resolution
Regardless of the format, you're saving your file as it's essential to make sure that the image has the correct resolution. In short, a higher resolution image will result in a better-quality print. In addition, a high-resolution file contains more detailed information than a low-res one. This means that your photo will show more detail and provide a more refined look.
One of the most common printing formats is JPEG, which often has a resolution of 72 pixels per inch (PPI). However, this mustn't be confused with DPI or dots per inch. DPI measures printer output quality- not image resolution. As a result, an image with a resolution of 72 PPI printed at 300 DPI will look better than an image with a resolution of 300 PPI printed at 300 DPI.
When preparing your artwork for printing, it's essential to ensure that the resolution is set to the correct value- usually 300 PPI or 72 PPI, depending on the final print format. This is especially true when preparing images for online use, as they may otherwise appear blurry and pixelated.
The Right File Format

Before saving your file, you should make sure that it's in the correct file format- this will help ensure that the image has the proper resolution and colour profile.
The most common file formats for digital images are JPEG, PNG, TIFF and GIF- each having different properties that make them suitable for certain kinds of prints. For instance, a JPEG is usually used when saving an image printed as a photographic print or other high-quality production print. On the other hand, a GIF is often used for photos that will be used on the web, as they are compressed and tend to have a small file size.
Preparing artwork for printing requires careful consideration of various factors such as bleed, trim marks, and colour profile settings. Whether the artwork is on art canvas, stretched canvas, or canvas boards, it's important to ensure that the final printed product looks as intended. Additionally, when using acrylic paint, the artist should consider how the final artwork will be displayed and printed to adjust the settings as needed. Once the artwork has been prepared, it's important to test it on the printer before printing and sharing it with others or starting to sell it. By following these steps, the artist can ensure that their artwork is of high quality and meets their expectations.
When preparing your artwork for printing, it's essential to make sure that you save it in the correct format. This will ensure that the image looks its best when printed.
Including Bleed and Trim Marks
When preparing your artwork, it's essential to make sure that you include any bleed or trim marks that may need to be included. Bleed is defined as the part of an image that will "bleed off" the edge of a page during printing. Think of it as extending past the edge by a small amount on all sides. This is usually used so that the paper doesn't cut off any substantial parts of your artwork.
Trim marks refer to lines or borders separating one print from another. For example, if you are printing multiple business cards on one sheet of paper, it's essential to include trim marks between each card so that they're separate once printed. If these aren't included, your business cards may be printed with incorrect margins and appear out of alignment.
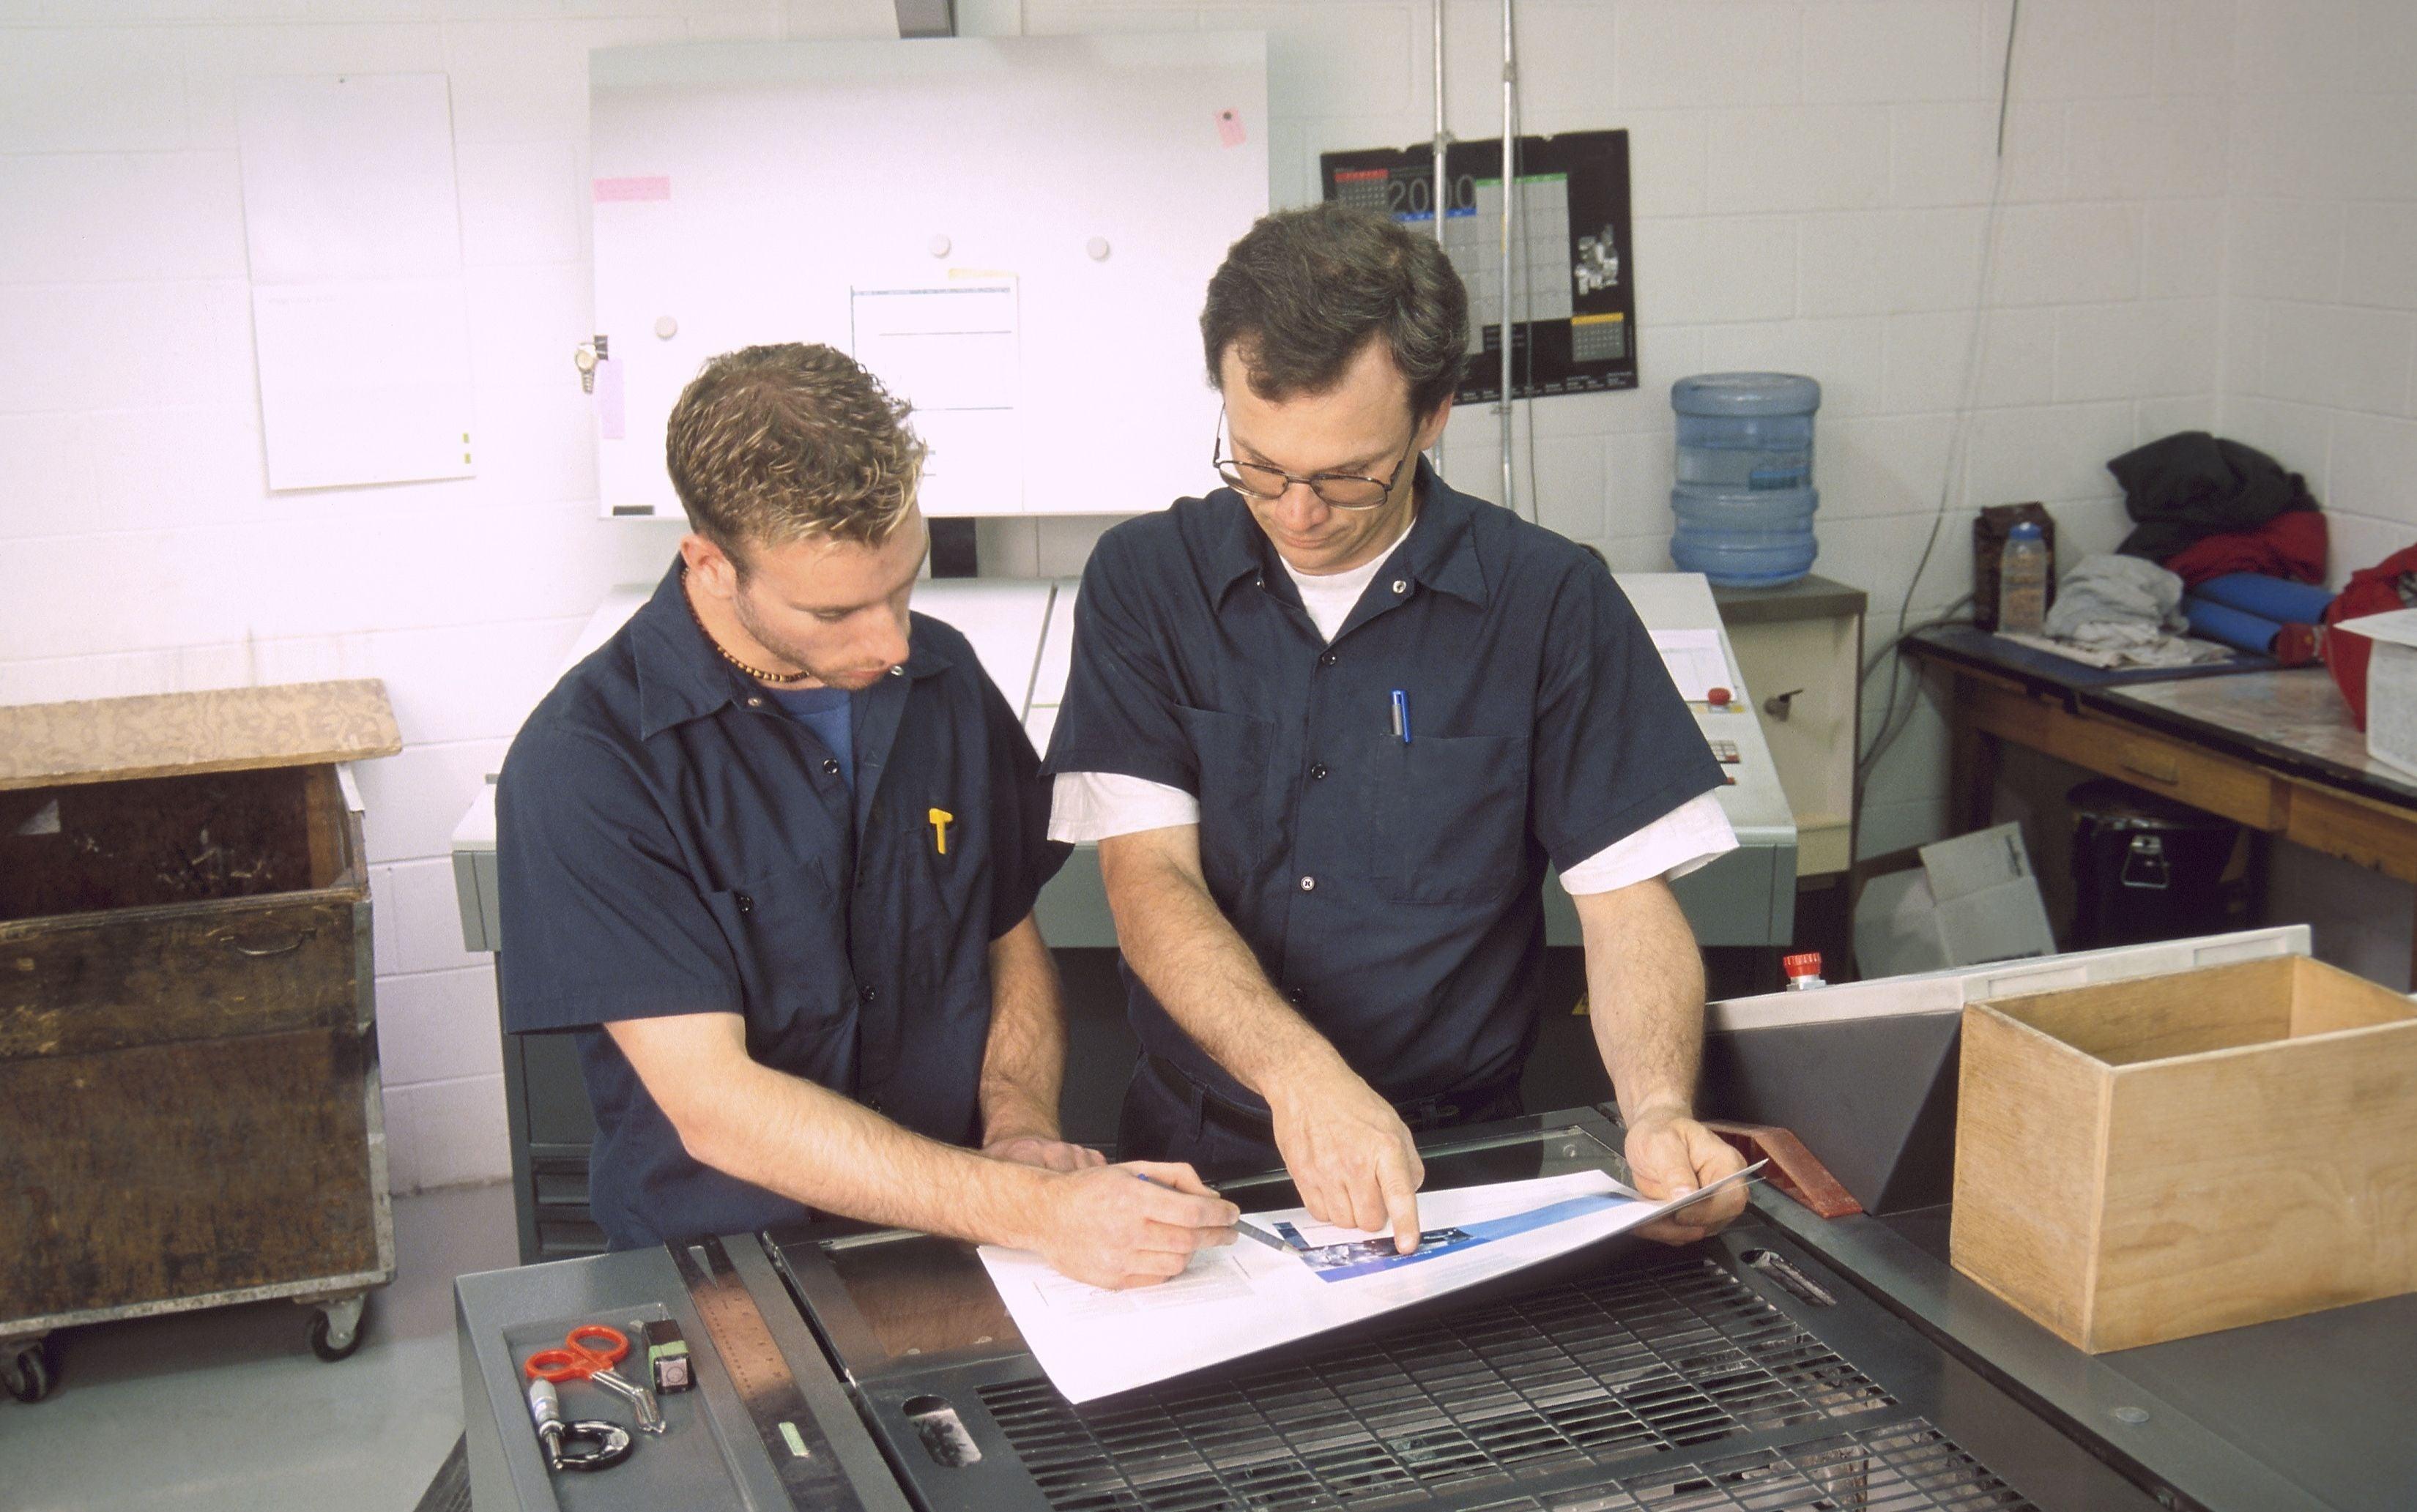
Testing on the Printer Before Printing
Once you've prepared your file for printing, it's essential to test the image first before making it available for publishing or selling. This is especially important if you're using an unknown printer or one that you haven't used recently.
We suggest running through the following tests to make sure everything is correct:
Printing: Print your image and see what it looks like when printed. Does it look how you expected? If not, go back and check your file settings and try printing again.
Two Up: Print two copies of your image on one sheet of paper to ensure correct margins. If they're not, go back and check your file settings and print again.
Bleed: Print your document with any bleed included, then cut off the edges of the page to ensure that all the bleed is cut off.
Trim Marks: Print your document with any trim marks included, then cut off the edges of the page to ensure that they're correctly aligned.
Cropping: If you've cropped your image, make sure to print it and see how it looks. The cropping should be even on all sides, and no essential parts of the image should be cut off.
Resizing: Resize your image to see how it looks at different sizes. If it becomes blurry or pixelated, go back and check your file settings and try printing again.
Colour Profile: Make sure that the colour profile is set to CMYK if you're printing in colour or to grayscale if you're printing in black and white. This will ensure the correct colour values are used when publishing your file.
Once you've printed your image and checked for any errors, it's now safe to share with others or start selling!