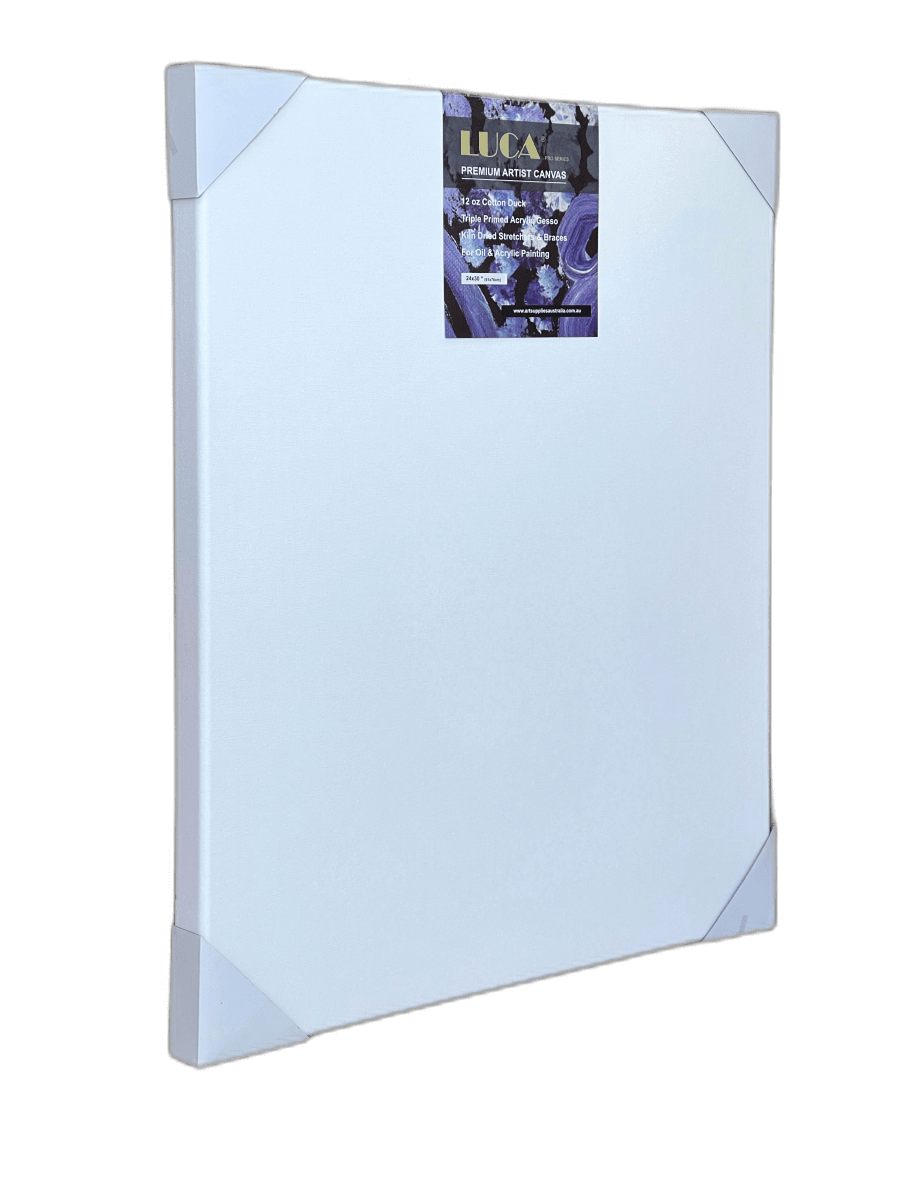
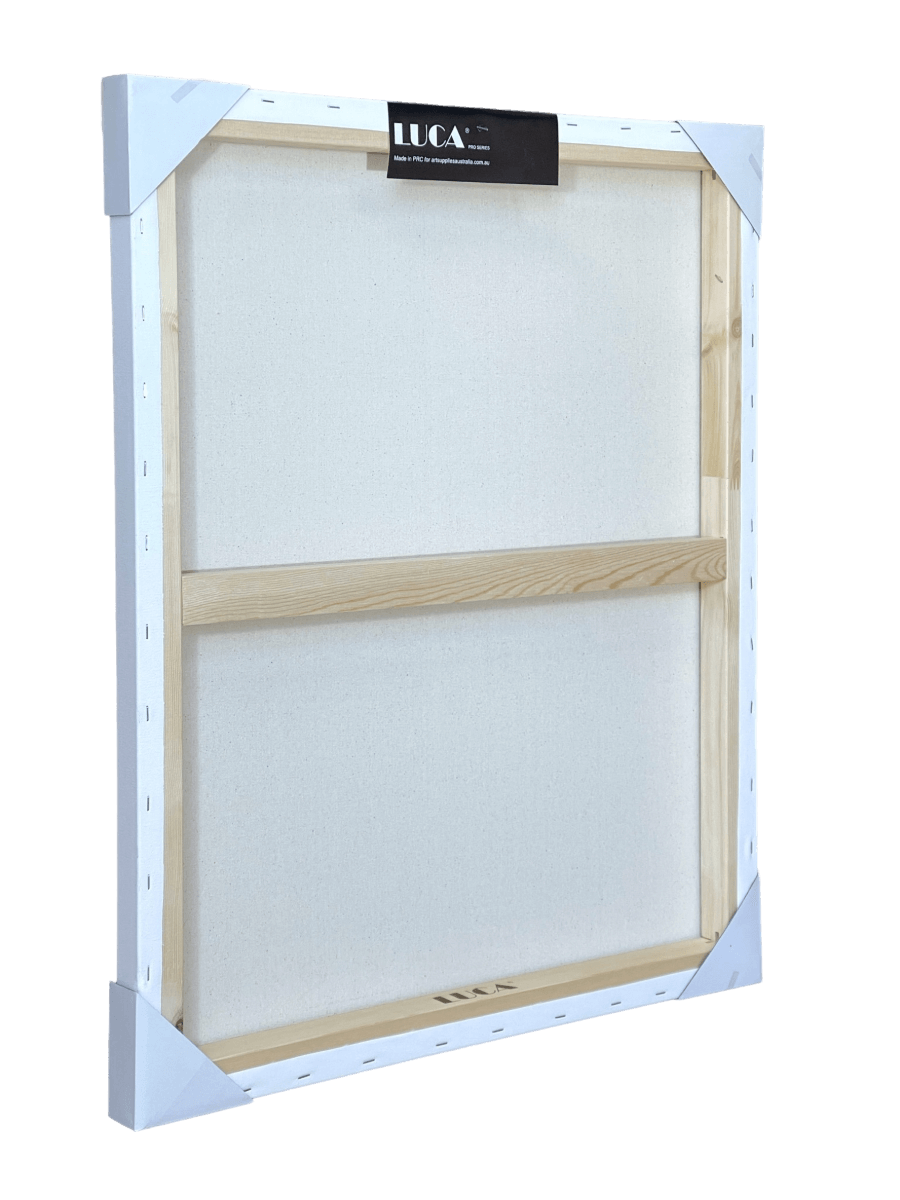
If you're a creative person who likes to do things yourself, then this article is for you. Framing your artwork can be a great way to save money and add some personal touches in the process.
How to Frame Artwork Yourself
This tutorial will walk you through everything from buying materials to hanging your framed art on the wall.
1) Buy Materials
You'll need some art supplies to accomplish the process. You need four pieces of mat board (or foam core), one sheet of glass, and two frames-one for the front and one for the back. Each frame's size should match the size art print or poster you're framing; most standard sizes are 16x20" or 20x24". If possible, buy frames with attached mats so that all you have left to do is>write a blog outline add some art!
2) Remove Your Artwork (or Cut Paper) from the Frame
If your artwork is still in the frame, carefully remove it and push it down on each corner to pop out the glass. You may want to use a putty knife or plastic pry bar to help you remove the glass from its place. If your art is a print on paper, you can skip this step and go straight to placing your poster inside the frame.
3) Cut Your Mat Board
If your piece of artwork has two separate parts of mat board attached (one for the front and one for the back), cut them apart now so that they're each their independent pieces. You can use a utility knife or box cutter for this. If your mat board is too long to fit in the frame, you'll need to cut it down as well (most mat boards easily include inside standard-sized edges).

4) Place Your Artwork
Refer to your framed piece of art and check where you want it placed on your new part of the mat board. You can also use the old frame as a guide for this step.
5) Glue Your Mat Board
Once you've found where you want to place your art, run some glue along its borders (this is usually white paper glue). If there are any cutouts in your new piece of mat board (such as windows or matting), make sure that they're completely covered in glue. Once your new part of the mat board is glued, attach it to the back of your art print. Make sure you line up the edges-if you don't, your frame will look crooked when you hang it up!
6) Glue the Glass
If your artwork doesn't have glass in it, you'll need to glue a piece of glass to the front of it now. Next, apply some glue to the edges of your glass and attach it to your art print.
7) Frame It
Now that your artwork is glued to its new mat board, all you have to do is put the whole thing in a frame! Place your artwork and mat board inside the frame, ensure it's centred, and attach the back frame piece. Screw or nail it into place, and you're done!

